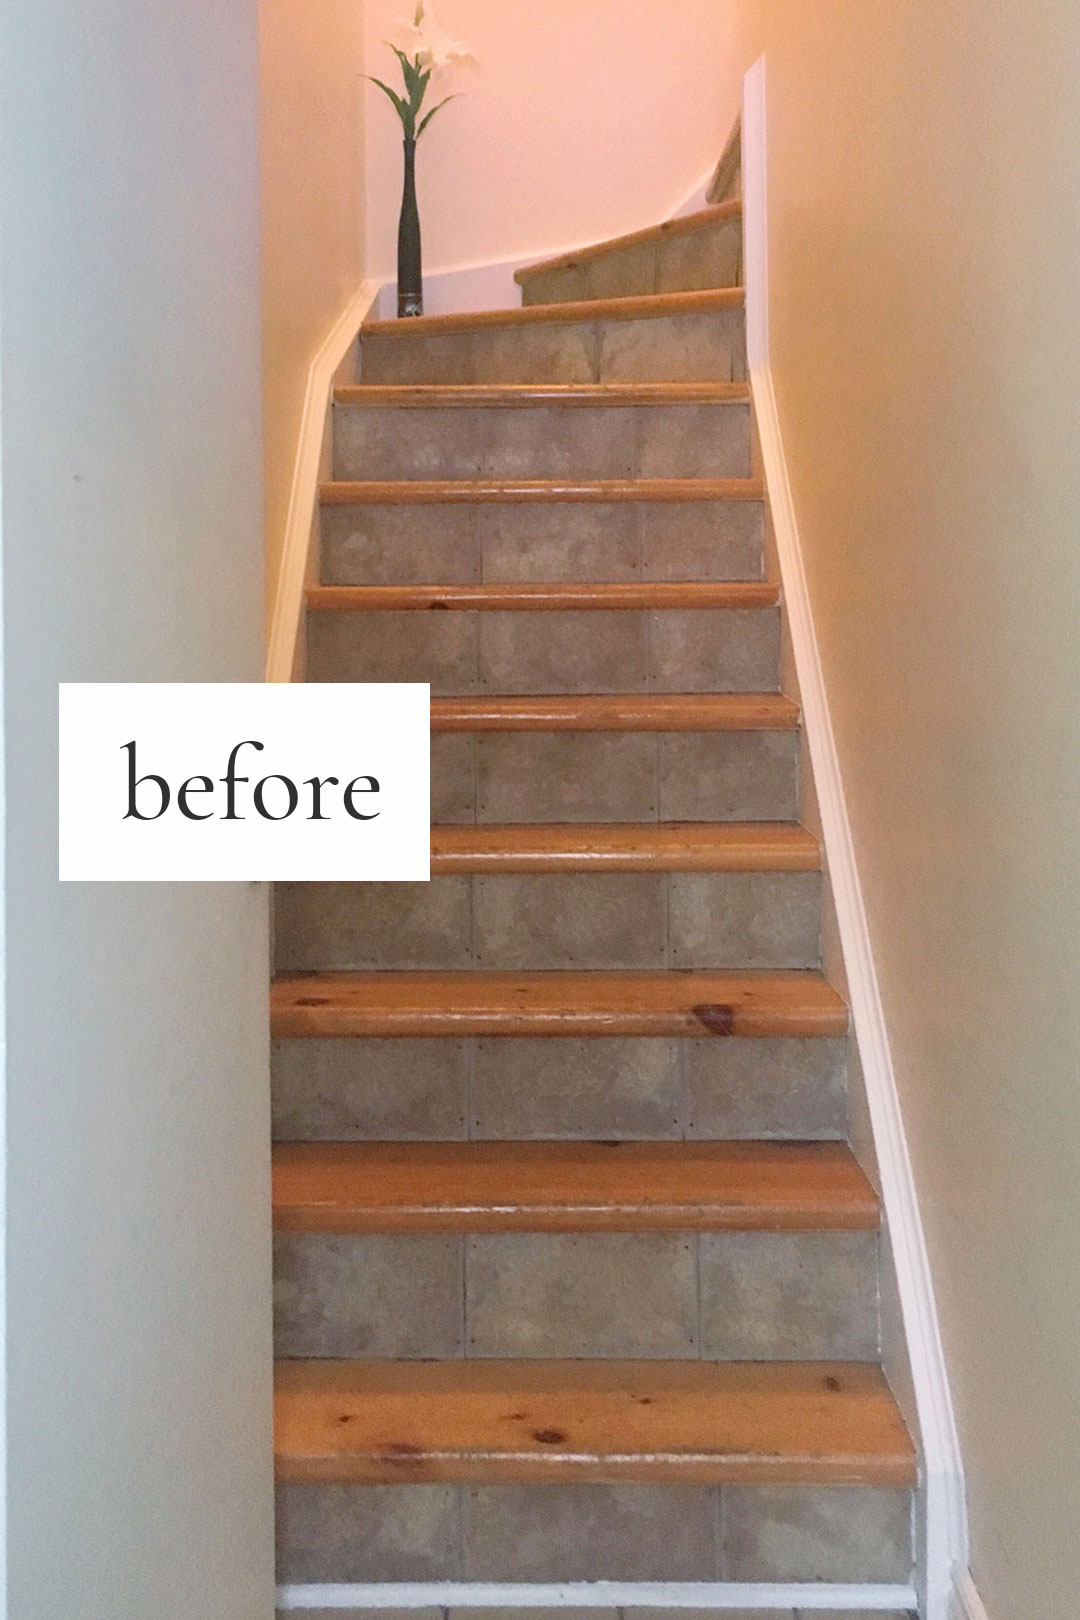
I wanted a solution that would be renter-friendly and add some life to the space. I found some pre-cut stair riser stickers as an option, but they can be quite pricey at times and I would need different sizes for our application. However, I liked the peel-and-stick idea and thought I could probably find a cute removable wallpaper which I could then cut to size myself.
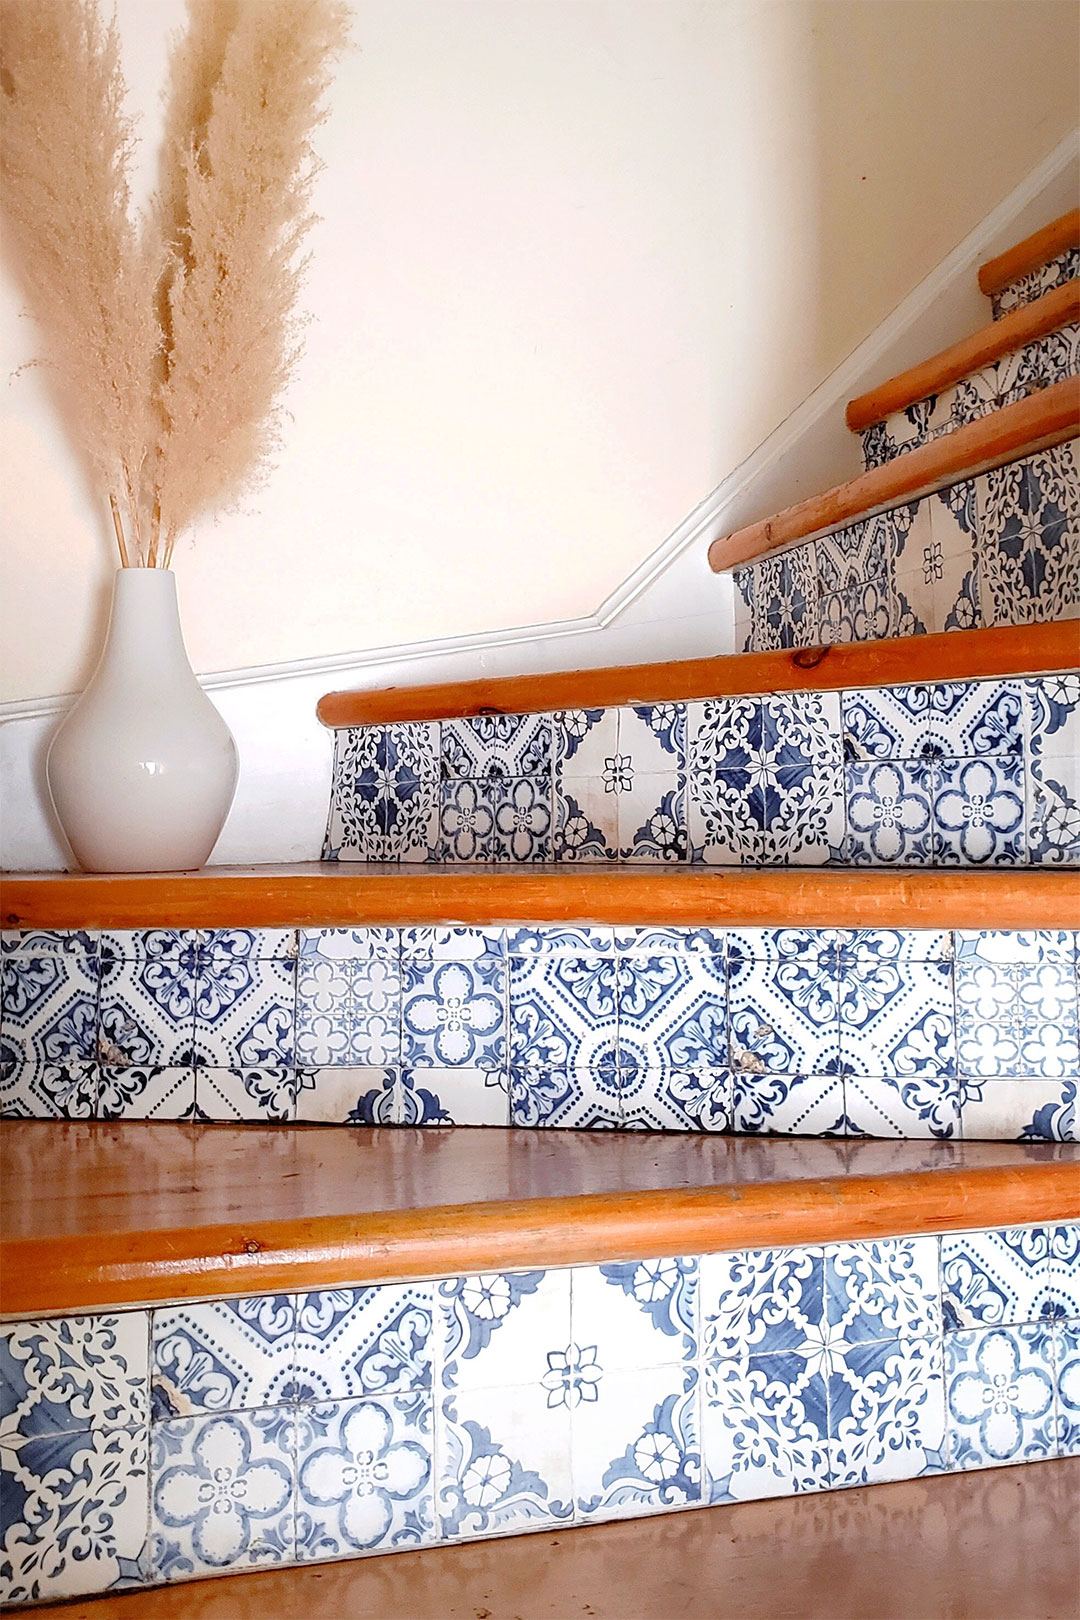
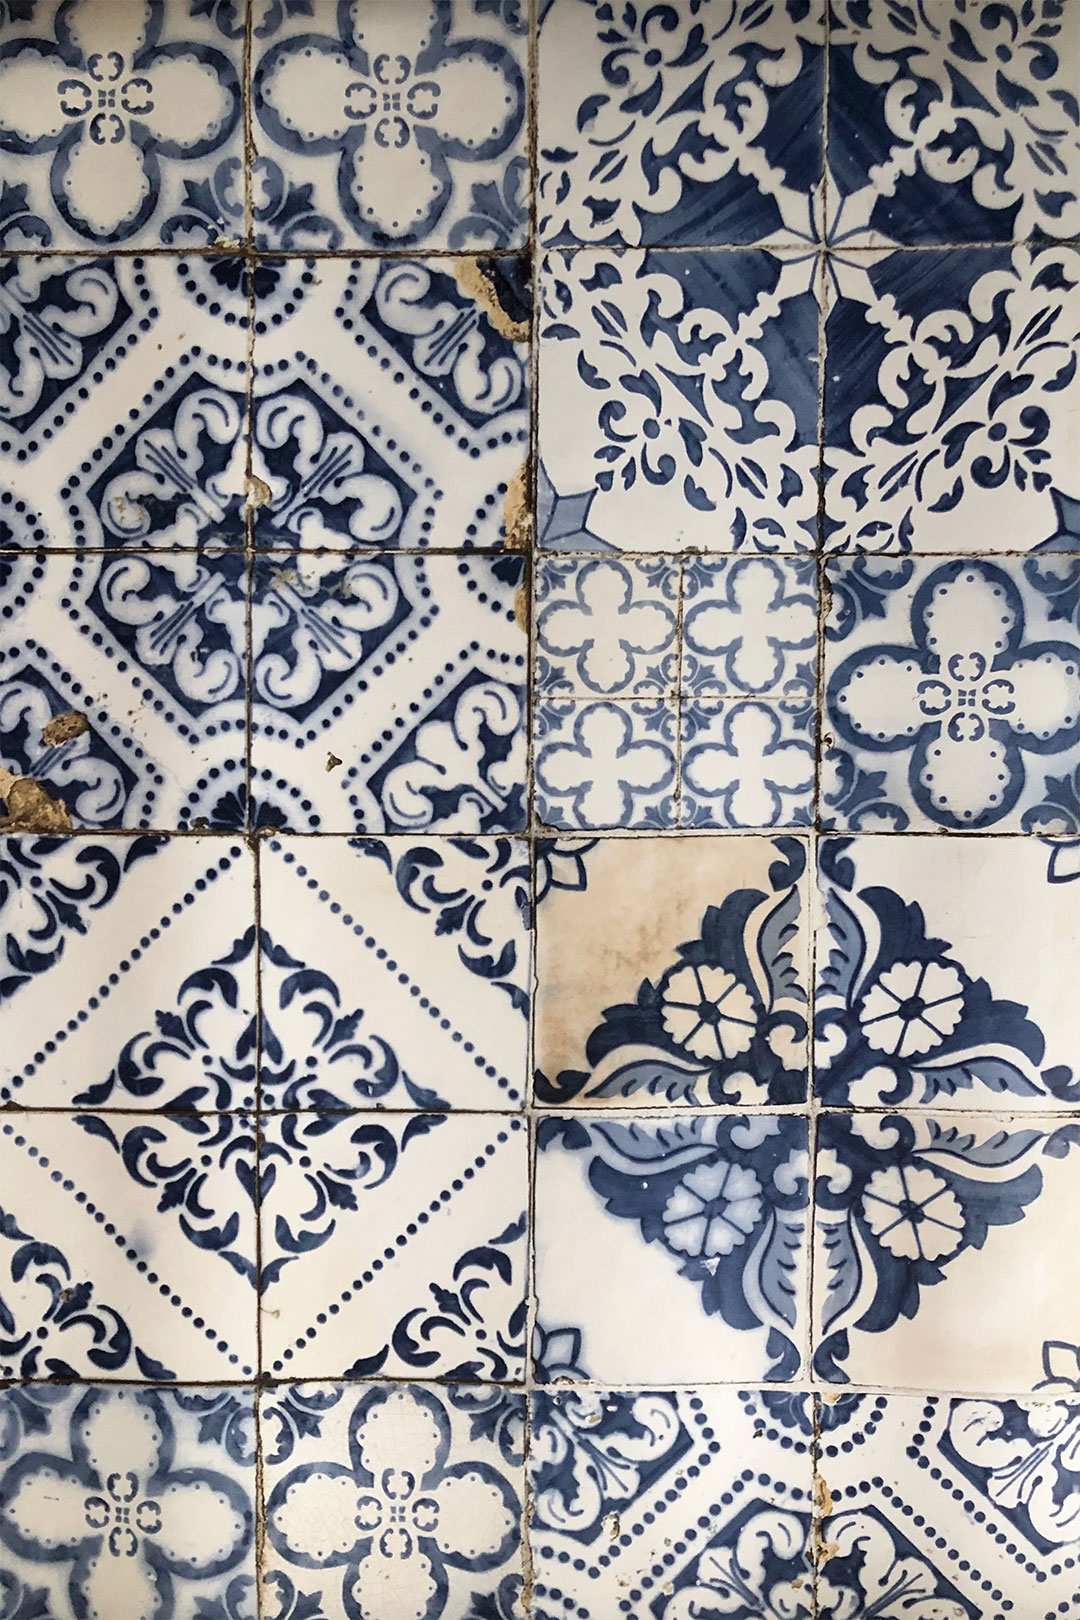
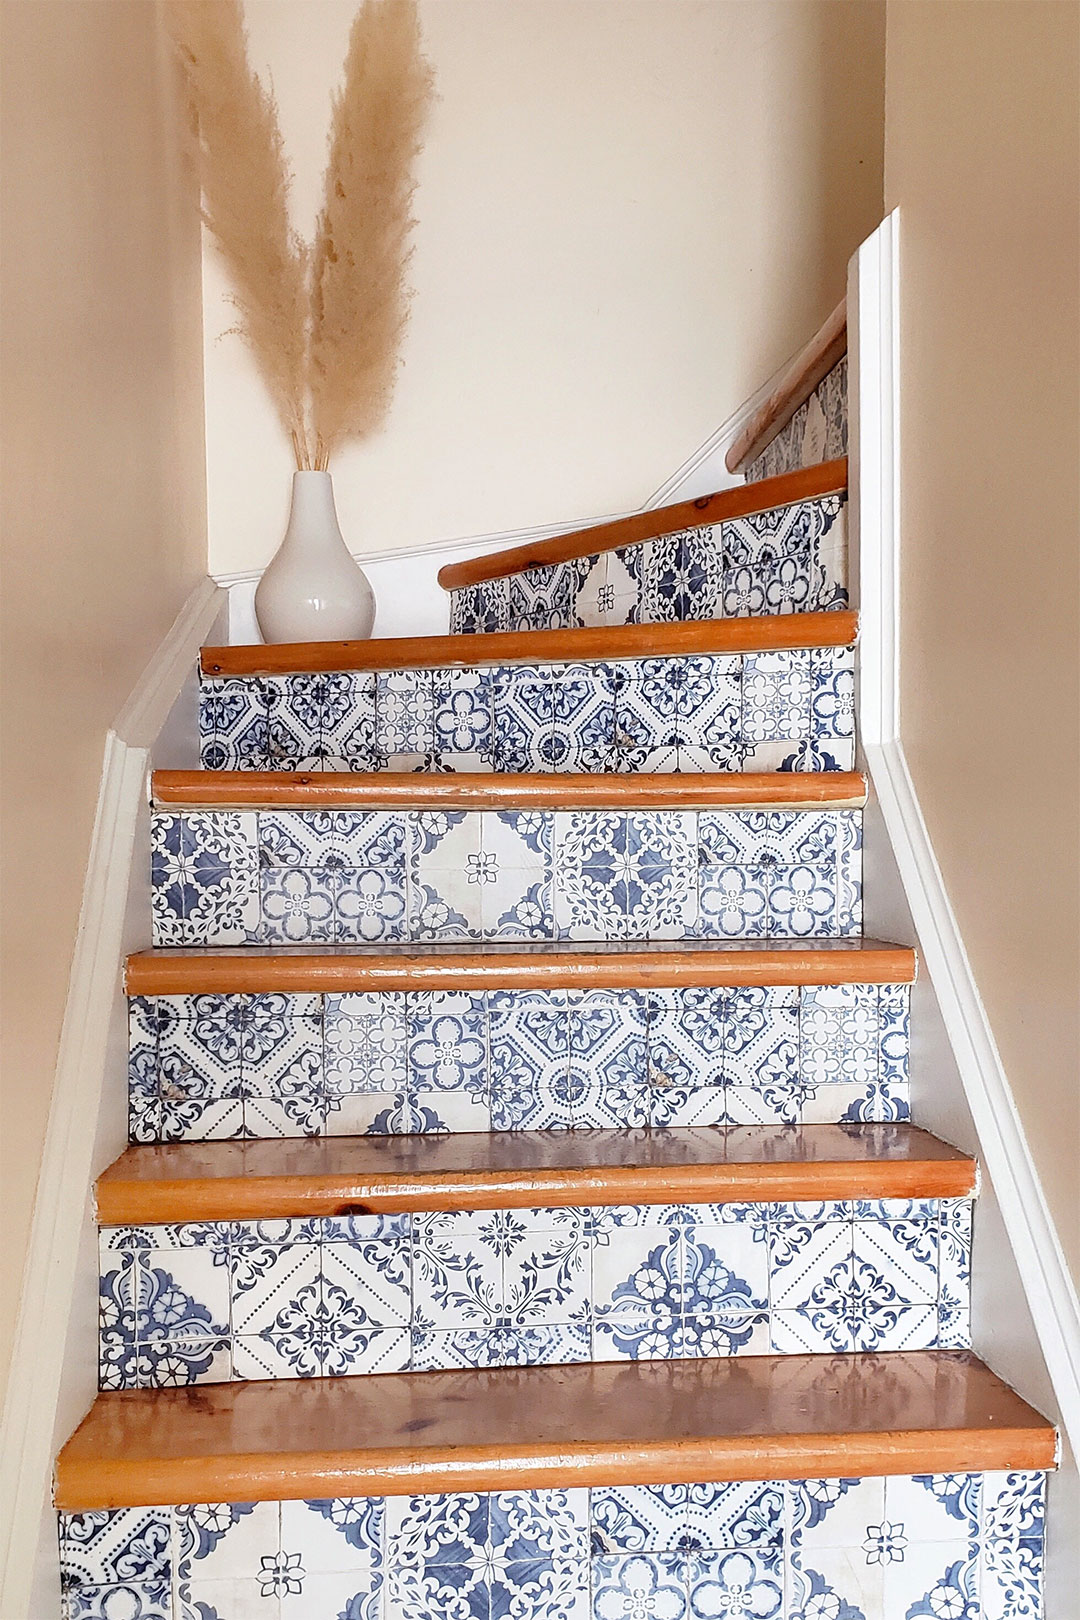
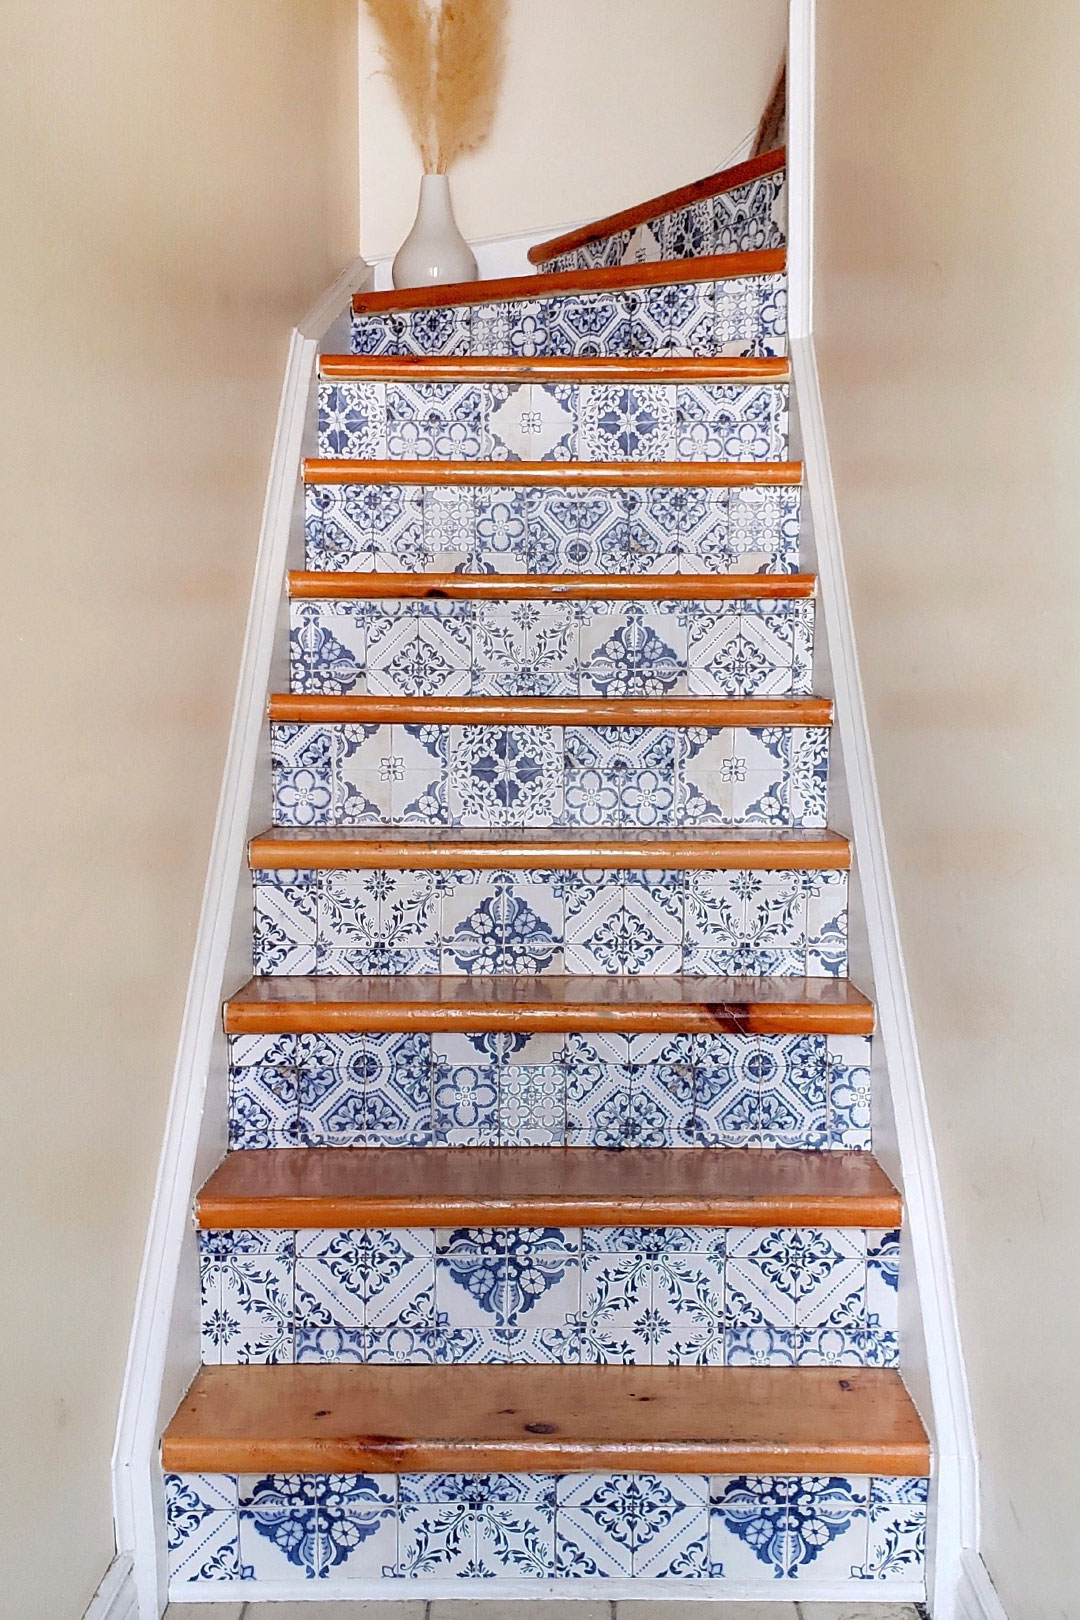
Bingo! When I came across this Mediterranean tile removable wallpaper, I knew I had to give it a try… I loved that the pattern didn’t feel too geometric and it would add some character + pop of colour to that corner. Priced at around $35 for the 20.5″ x 16.5’ roll, it was definitely worth a shot.
If you’re looking for an easy way to revamp your stairs, this DIY project might be a good option for you too!
Here’s how I did it…
What you need
– Removable wallpaper
– Measuring tape
– Pencil
– Ruler
– Scissors
– Cloth
Instructions
Before ordering your wallpaper, measure the stair risers to make sure you get enough wallpaper for the project. In my case, I had 15 stair risers of about 33” x 6.5” each. One roll was enough for my application and even had some left for a smaller craft.
1. Clean the surface
Clean the surface of the stair risers by soaking a sponge in warm soapy water and squeezing out the excess water. Rub to clean as much as possible and let dry completely before installing the wallpaper.
2. Measure the stairs
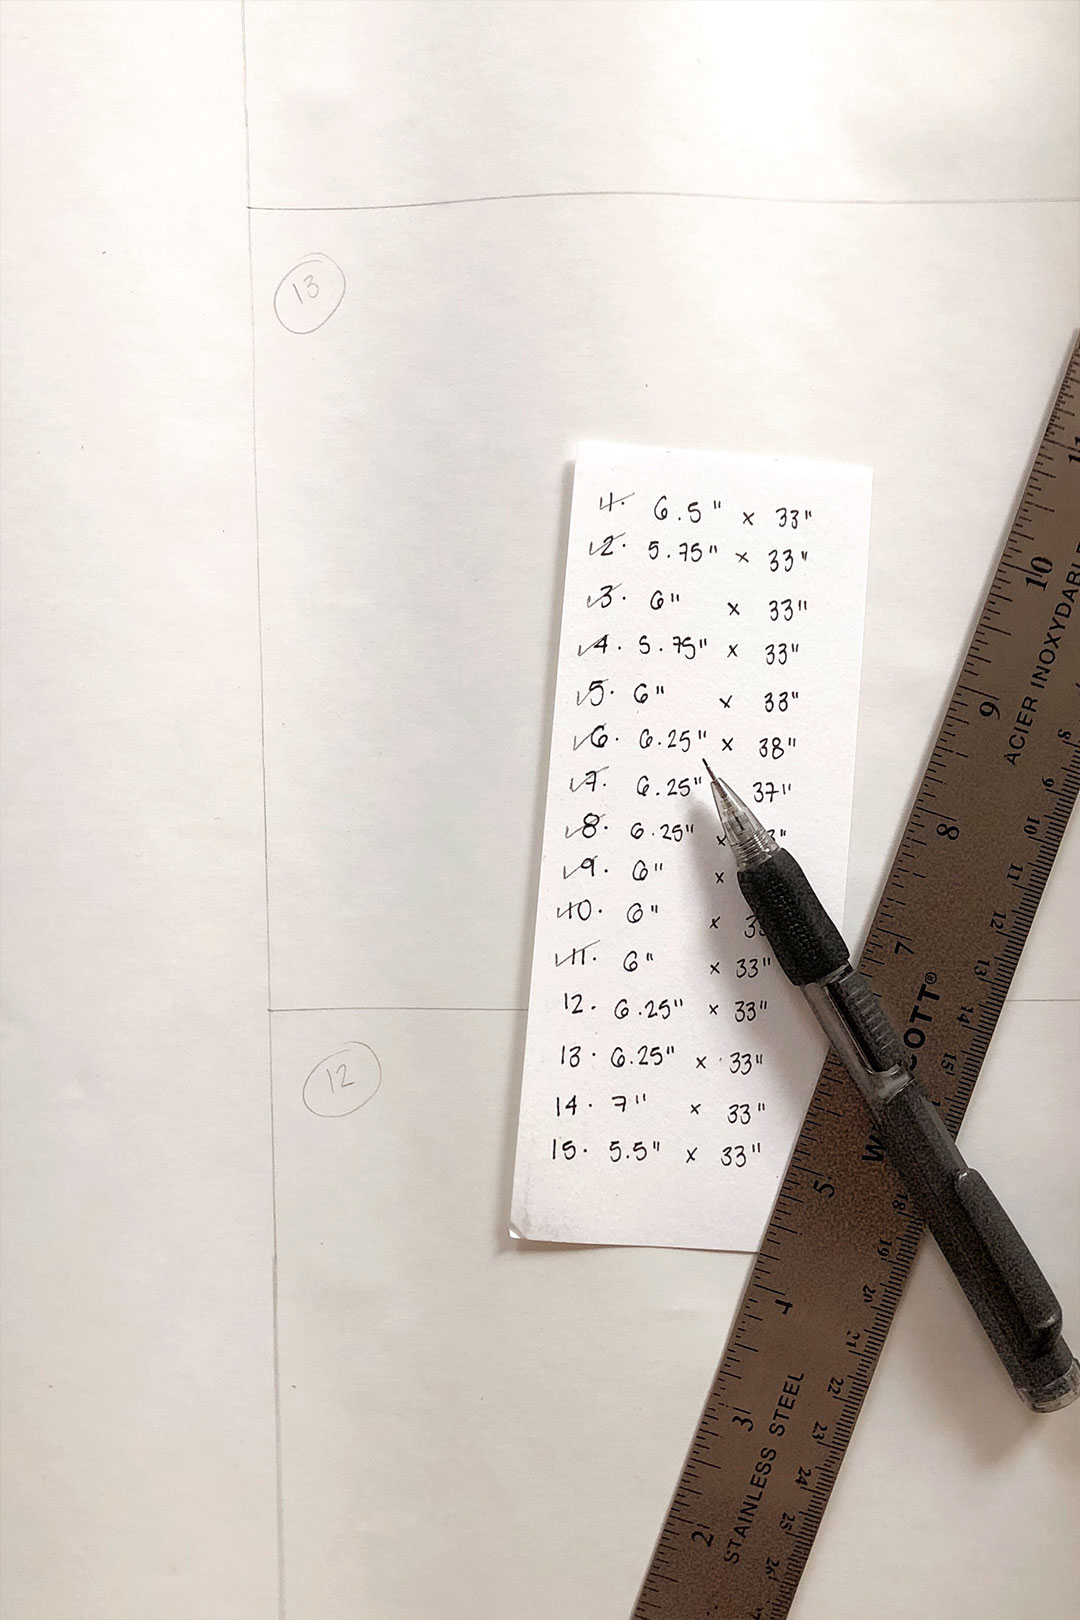
Measure each stair riser as some might be slightly different. Take note of all the measurements so that you can trace them onto the wallpaper.
3. Cut the wallpaper to size
Once you have the exact measurements, figure out the best way to arrange all the pieces onto the wallpaper. I tried to fit as many as possible height wise in the 20.5-inch wide roll.
Trace each piece in the back of the wallpaper (mine was completely blank) using your pencil, ruler and exact measurements.
Once you’re done tracing them, cut each piece with a sharp pair of scissors.
It’s not a bad idea to number each piece so that you know which is which.
4. Peel and stick the wallpaper
Peel off the backing of the wallpaper and stick each piece onto the stair risers.
I was surprised by the quality of the wallpaper… It was thick, easy to install and very forgiving. I was able to pull off and reposition several times without losing stickiness or damaging the pattern.
The fact that each piece was relatively small made it easy to handle and reposition as needed. So much so that I didn’t need a wallpaper smoothing tool. A dry cloth was enough to press down the wallpaper.
It’s been three years since I did this project and the wallpaper is holding up well.
I have gotten many compliments over the years and have even caught some people touching the wallpaper trying to figure out if they’re real tiles or not…
xx
Marcie


0 Comments