
“Ceramics Drops Are the New Sneaker Drops”
I recently read this headline in Domino Magazine and I couldn’t agree more… I’ve been following several ceramic studios on Instagram and I get excited everytime they’re about to drop new collections.
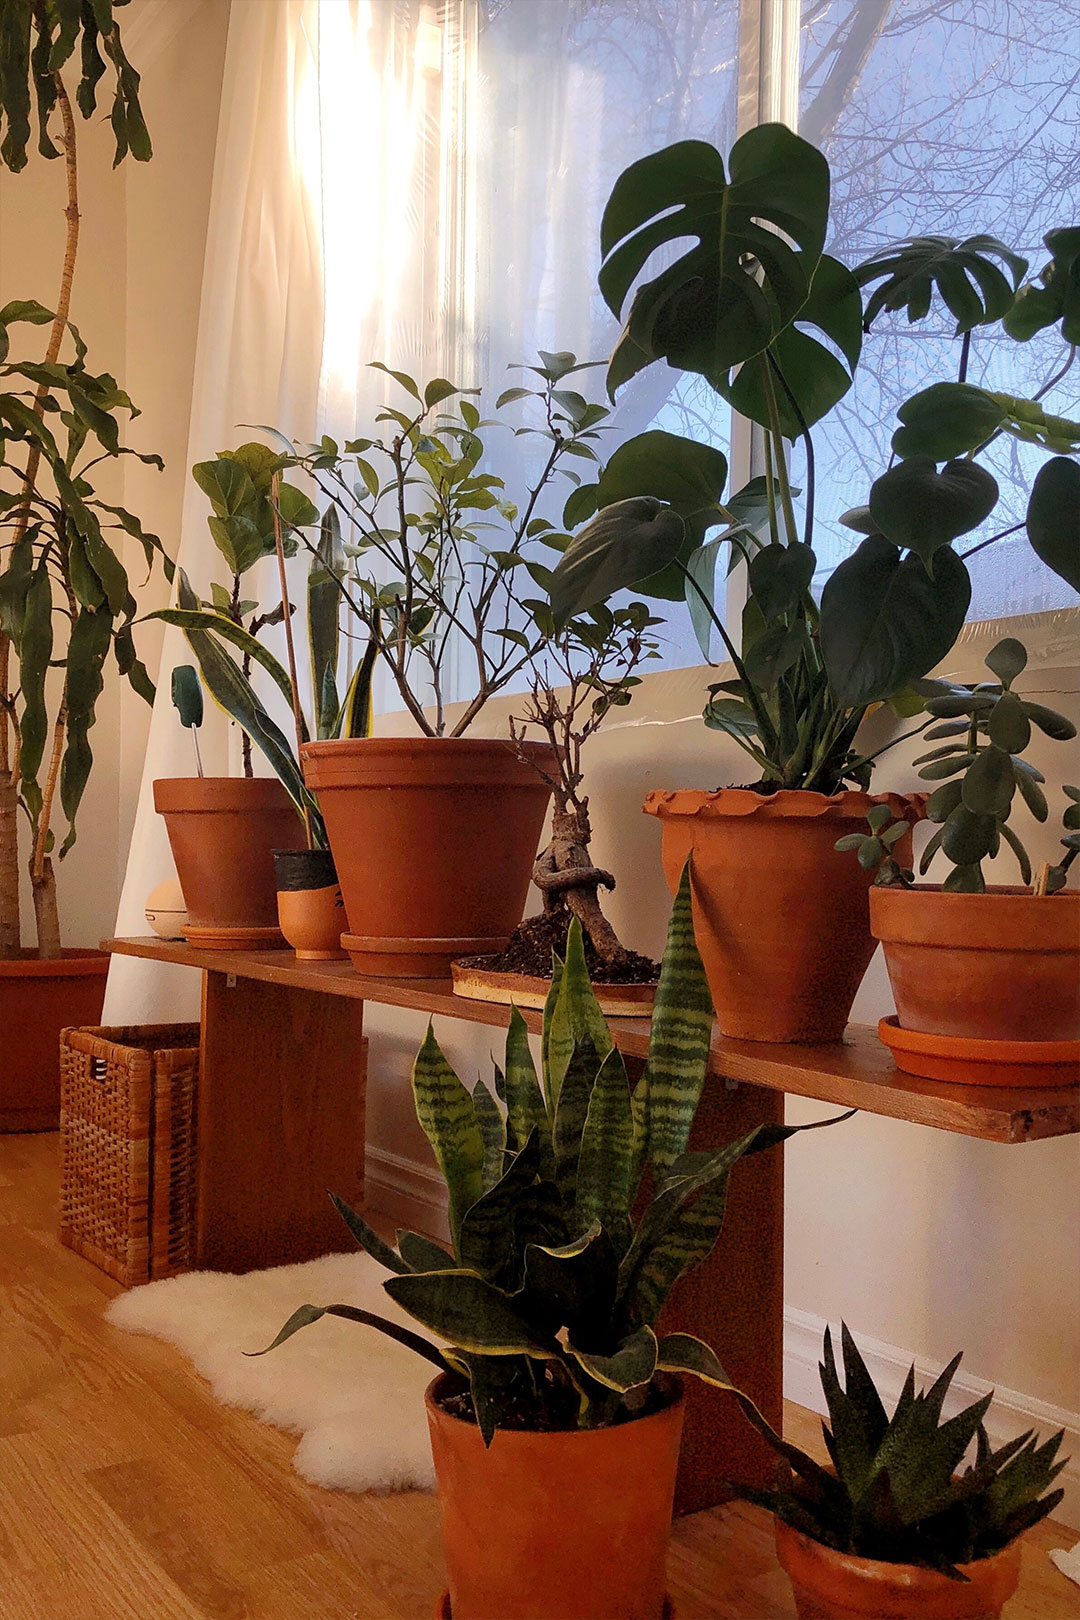
I also enrolled in a pottery class about two years ago and really enjoyed the experience. Most importantly, I use the pieces I made on the daily and, as Marie Kondo would say, they definitely spark joy!

But hey – I have some really good news for you! Geneva Vanderzeil from Collective Gen came up with a wonderful technique to turn those vases into more modern pieces. She called it #TrashToTerracota and it has helped me turn a lot of thrift finds into faux clay beauties for the apartment.
After giving it a try for a while, here’s what I’ve learned…

What you need
- Old vases
- Paint in the colours of your choice
I went to Home Depot and got three colour samples from Behr (interior eggshell enamel in colours ‘Clay Dust’, ‘Pottery Wheel’ and ‘Dark Truffle’) - Baking powder
- Paint brush

1. Source the vases
When looking for the vases, focus on the shape of the items and look for different sizes + heights that compliment each other well. If the colours are outdated, it doesn’t really matter… you will be painting over it soon! Thrift stores are great places to find the vases but look around your house as well – you might already have some hidden treasures lying around there.

I got these vases at a thrift store for about $3 each.
2. Mix paint + baking powder
Combine 1 cup of paint with 2 tablespoons of baking powder in a disposable container. The paint will slowly start to fluff up. The more fluffy the paint, the more texture it will provide. I like my pieces to have quite a bit of texture, so I usually add 2-4 tablespoons of baking powder per cup of paint. However, you can start by adding one tablespoon at the time until you reach your desired consistency.

3. Paint the vases
Using the paint brush, apply 3 coats of paint to each piece (make sure the paint dries properly in between coats). Don’t forget to paint the visible part of the inside as well for a more genuine look.

Different techniques for painting
I personally like to apply the paint in a horizontal motion so that the stroke marks resemble the lines you get when using the pottery wheel.


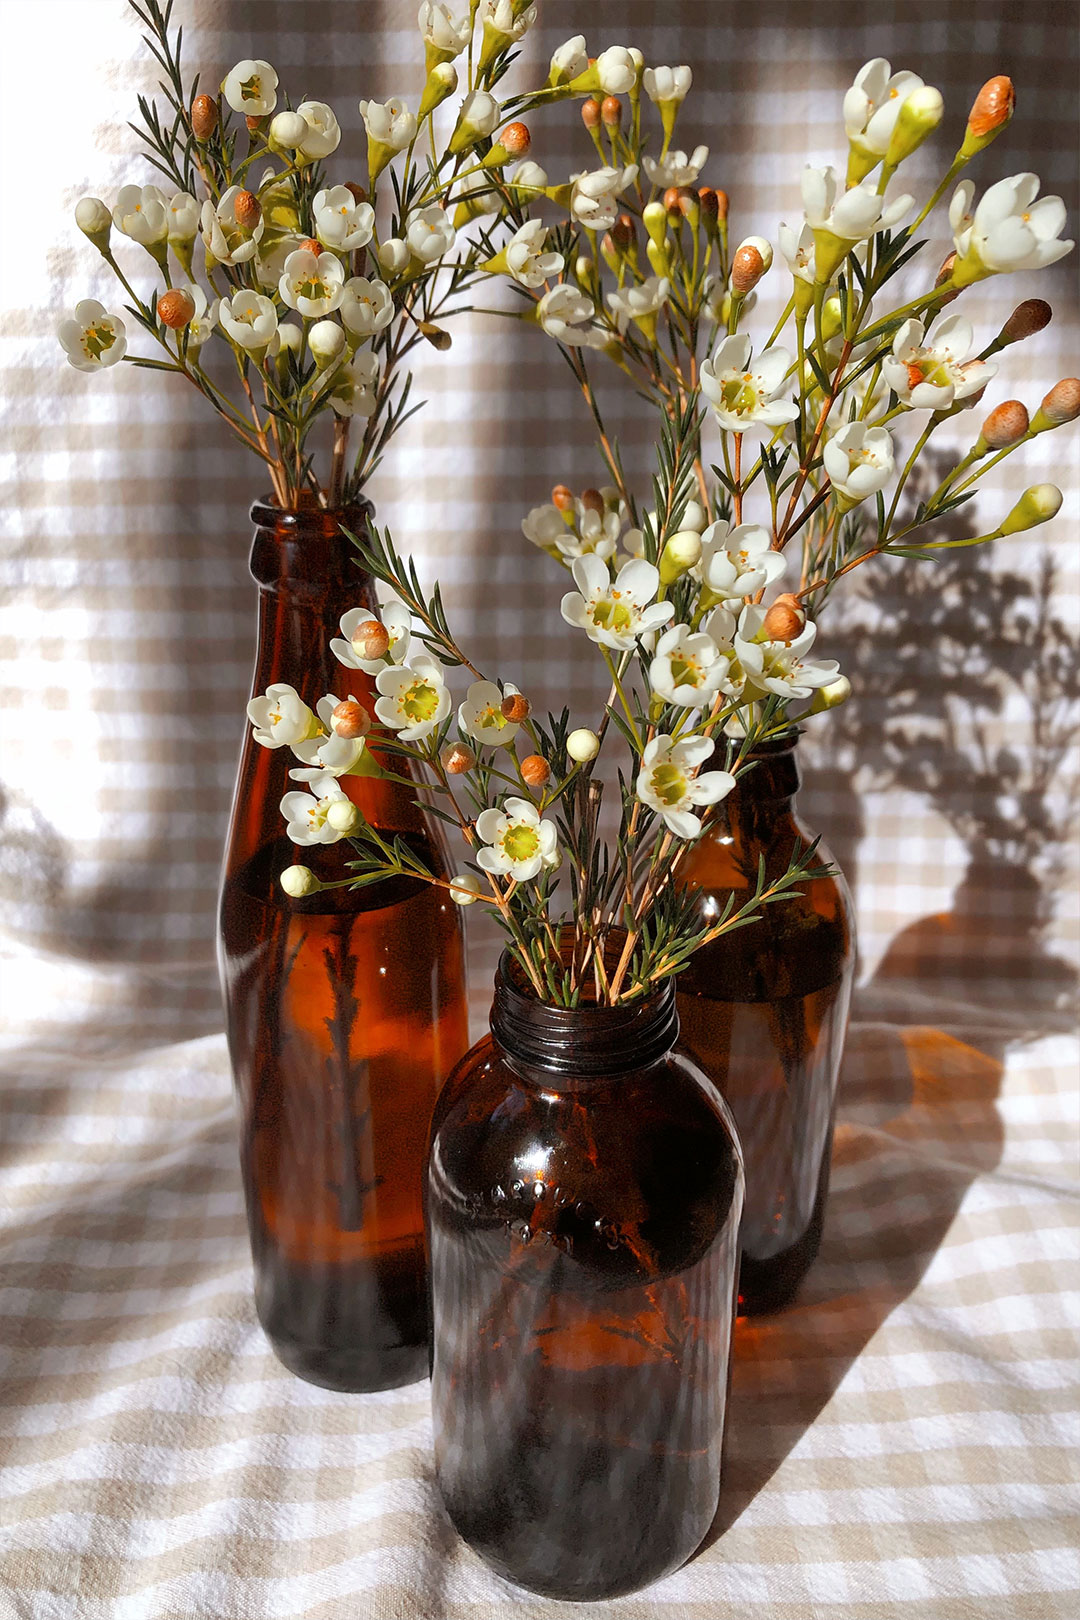
This vase was painted using a small foam paint roller.
Hover over the image for detail.
I made the candle holder on the left + the matchstick holder during my pottery class (made of real speckled clay). However, I wanted to show them to you side-by-side so that you can compare the look between the real ceramic and the faux ceramic version.

This technique is quite addictive…. I hope you have fun revamping your vases!
xx
Marcie
0 Comments