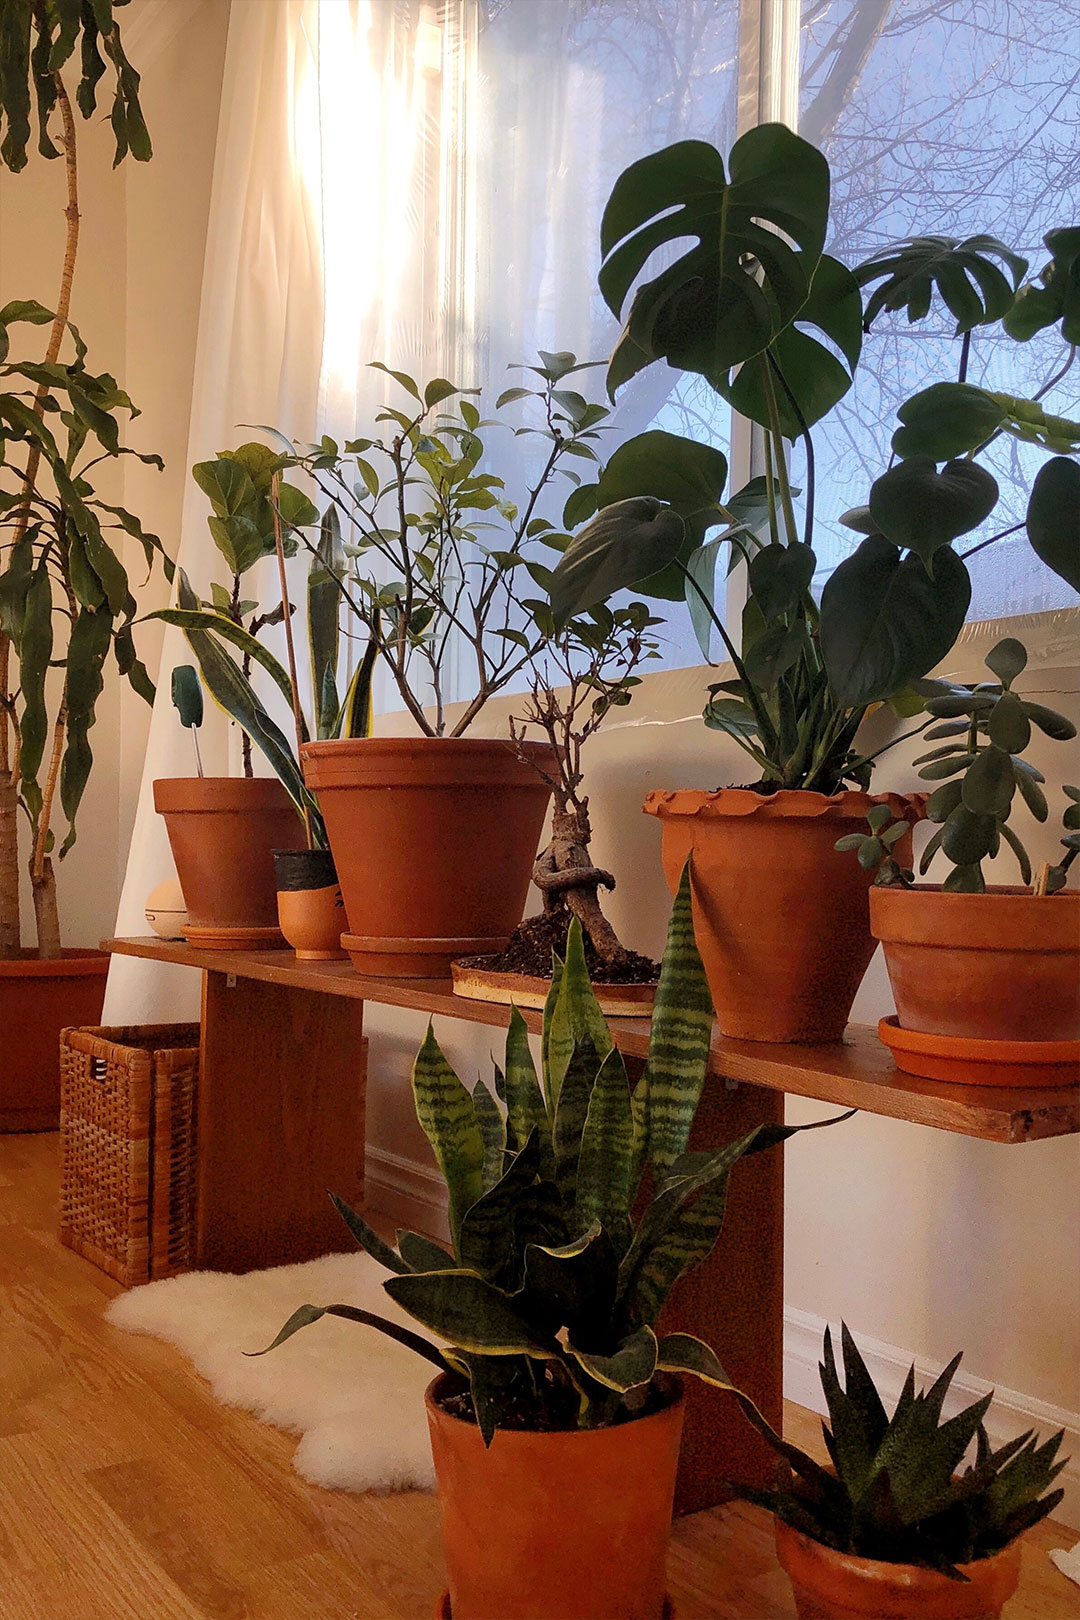
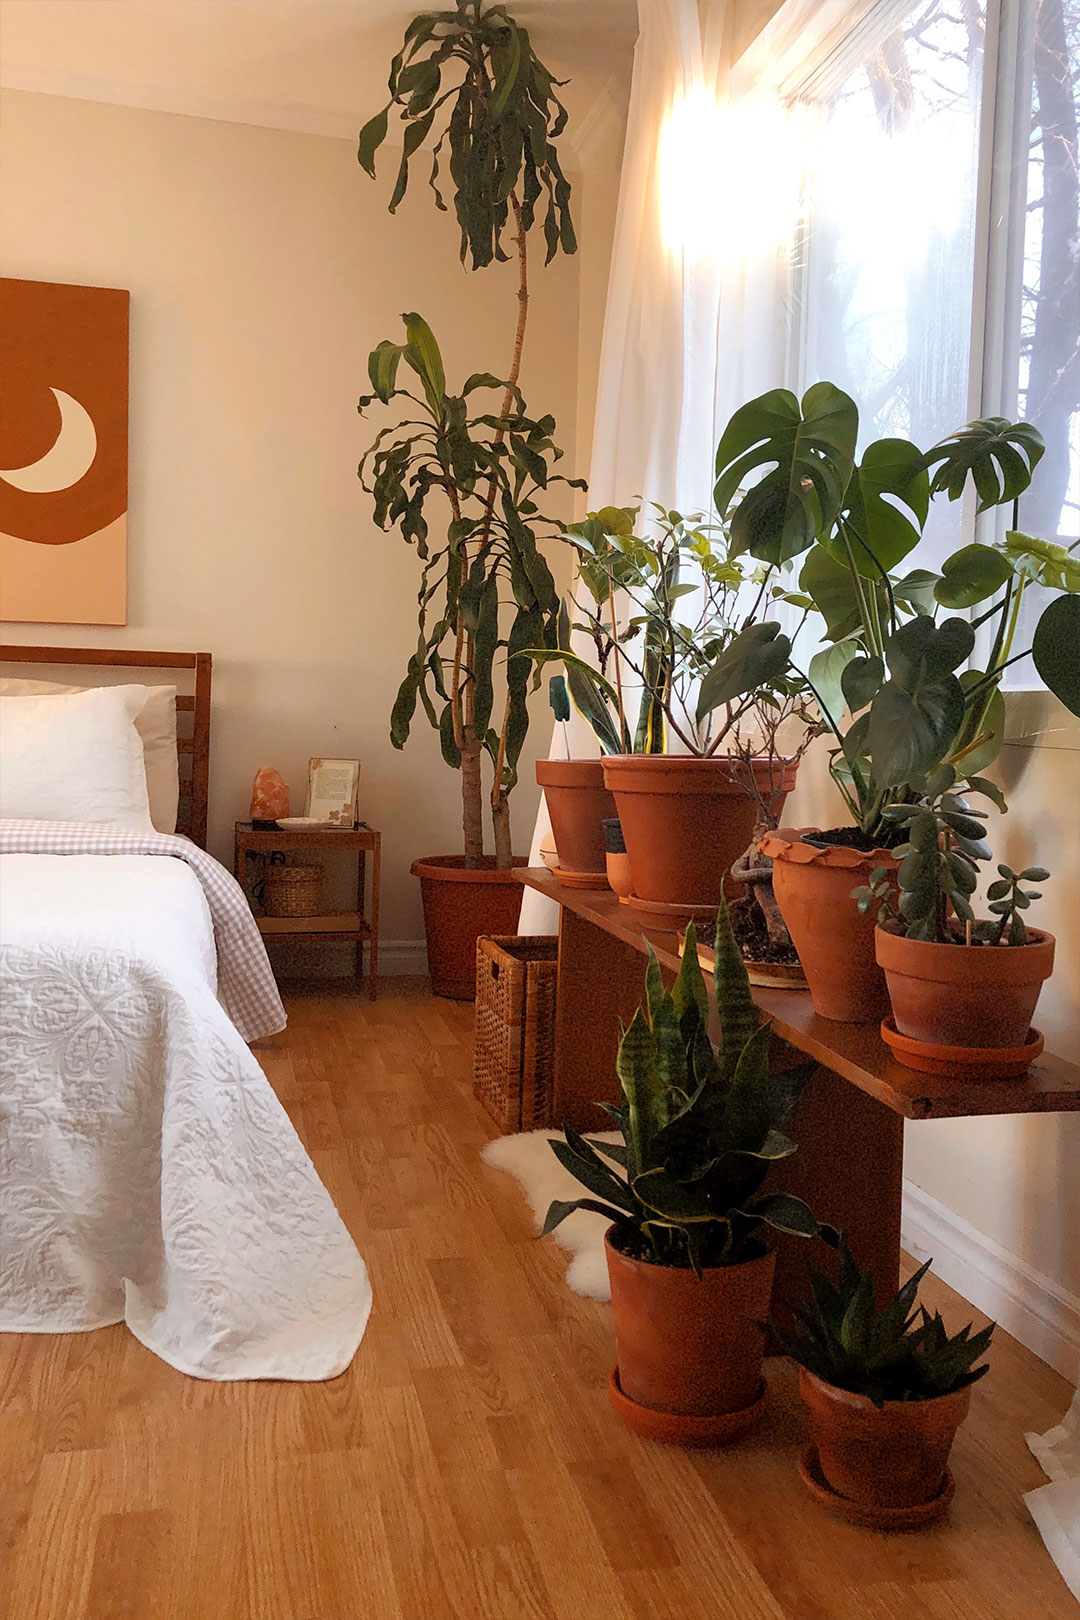
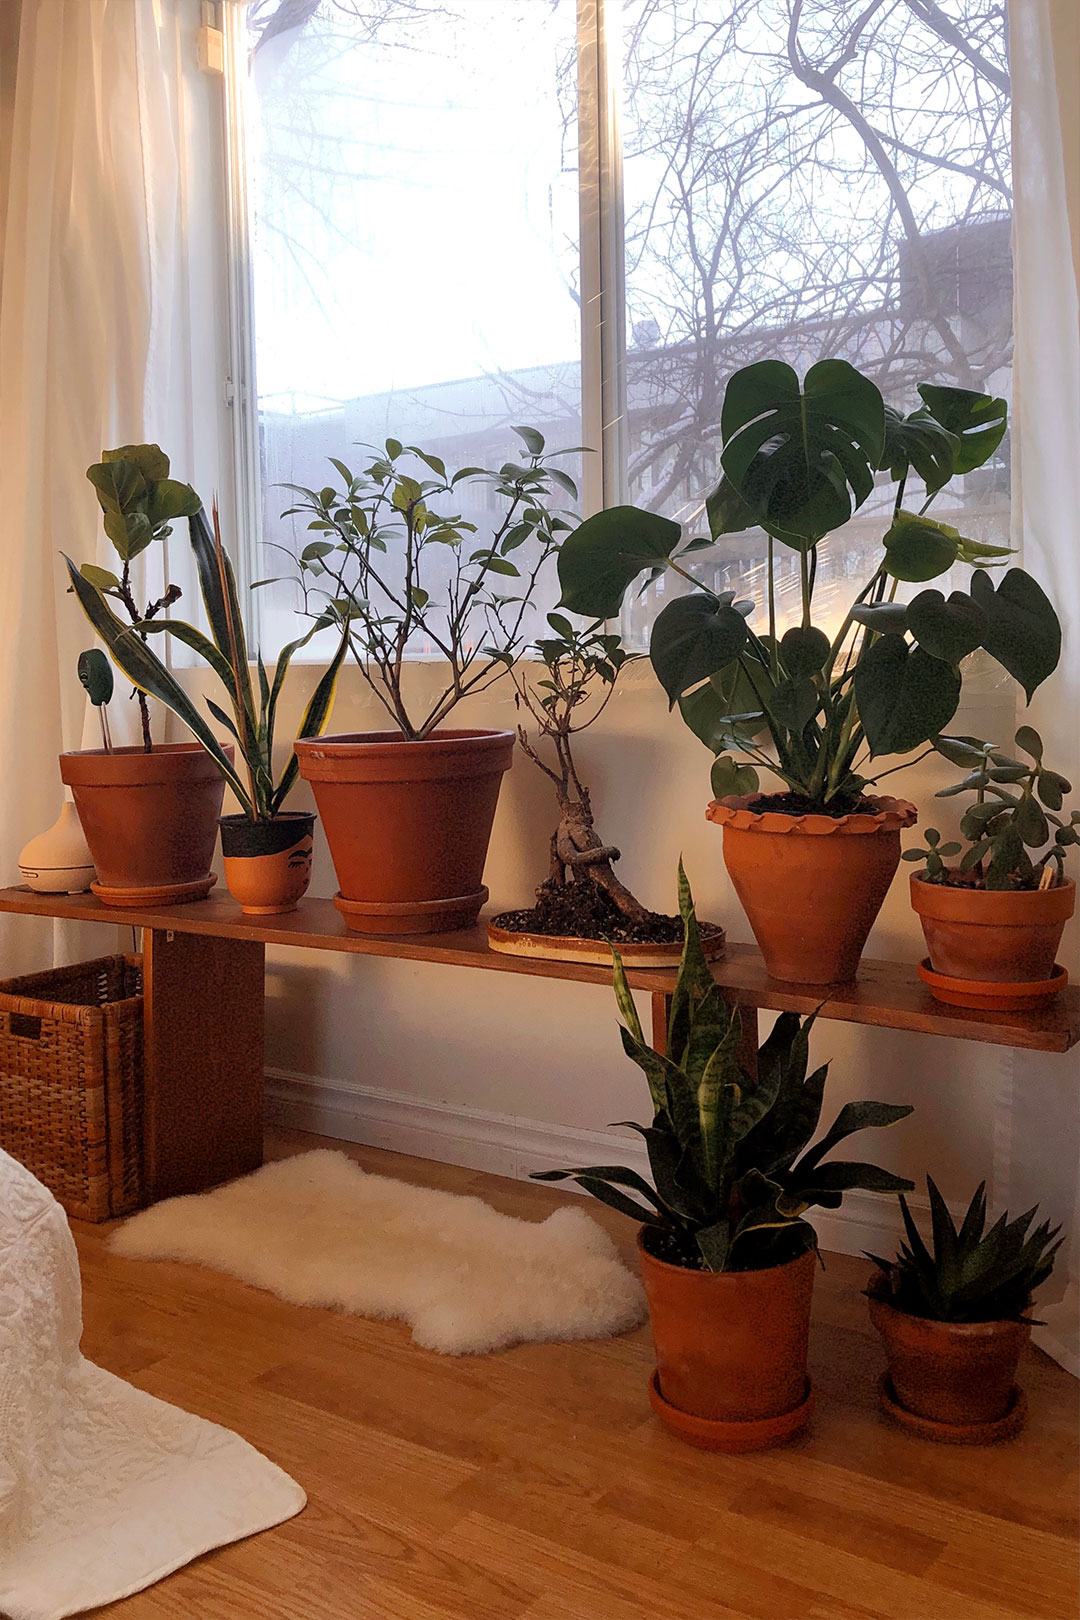
After much research, I decided to build one from scratch. This would allow us to make it in any size we wanted and, best of all, stain it the same colour as the bedroom set.
Here’s how we built it…
What you need
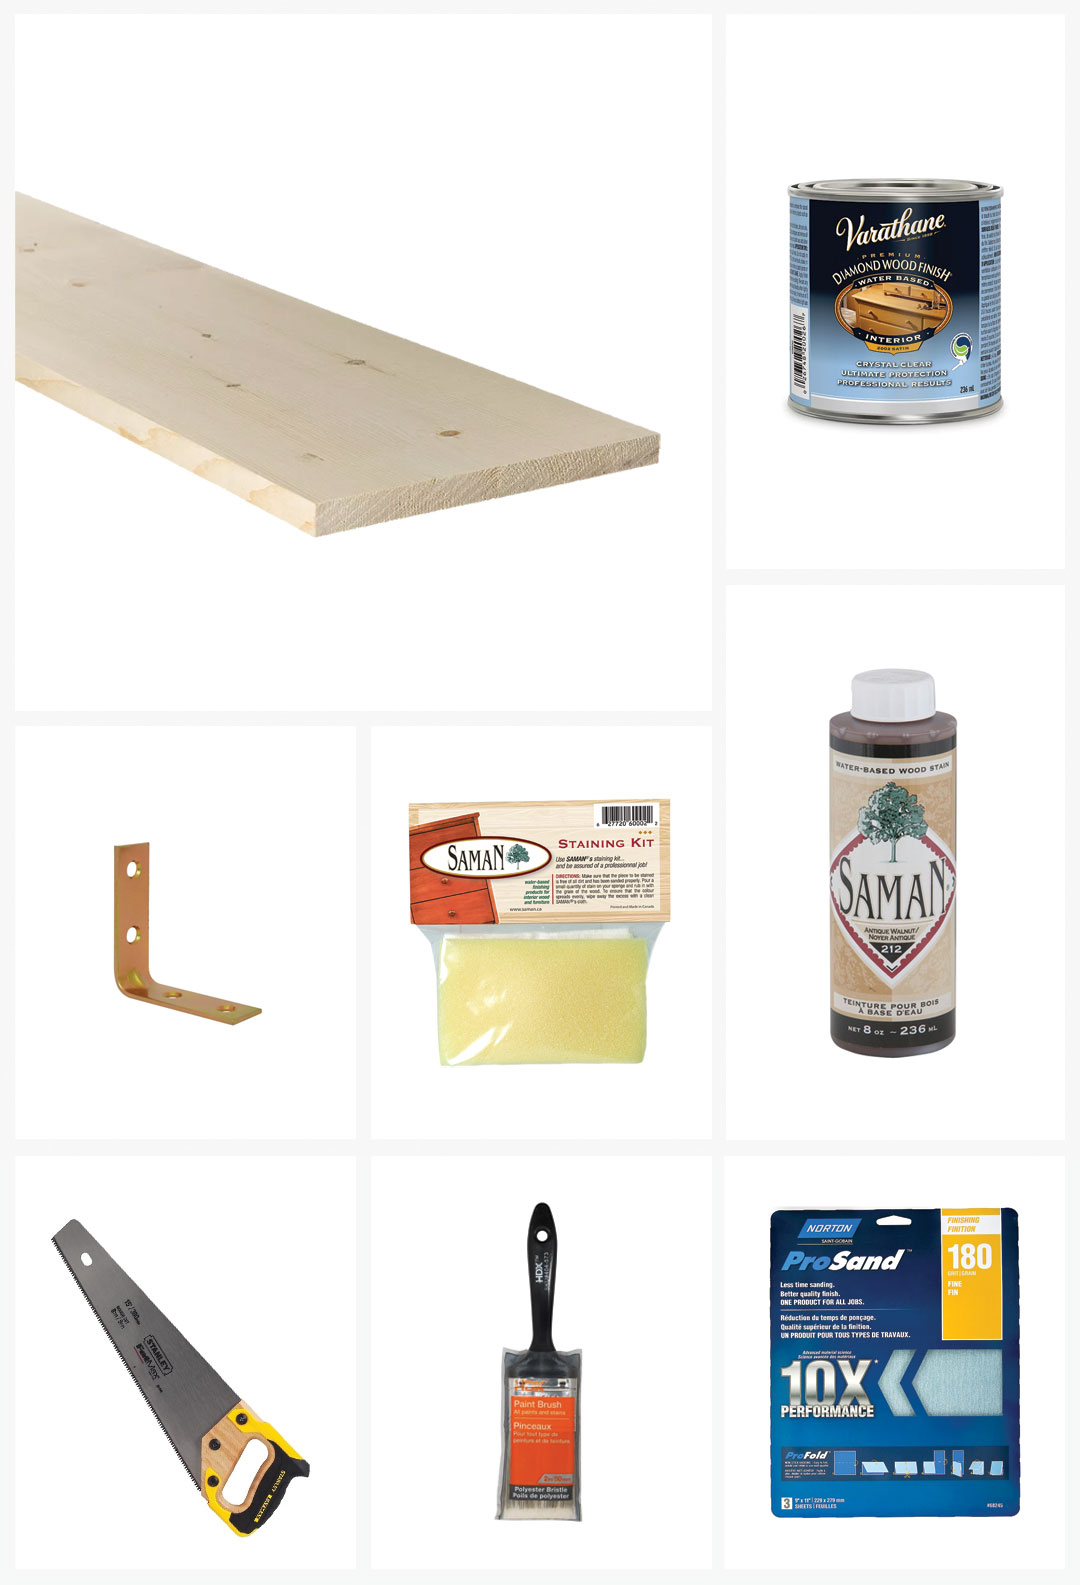
– 2 planks of shelving wood
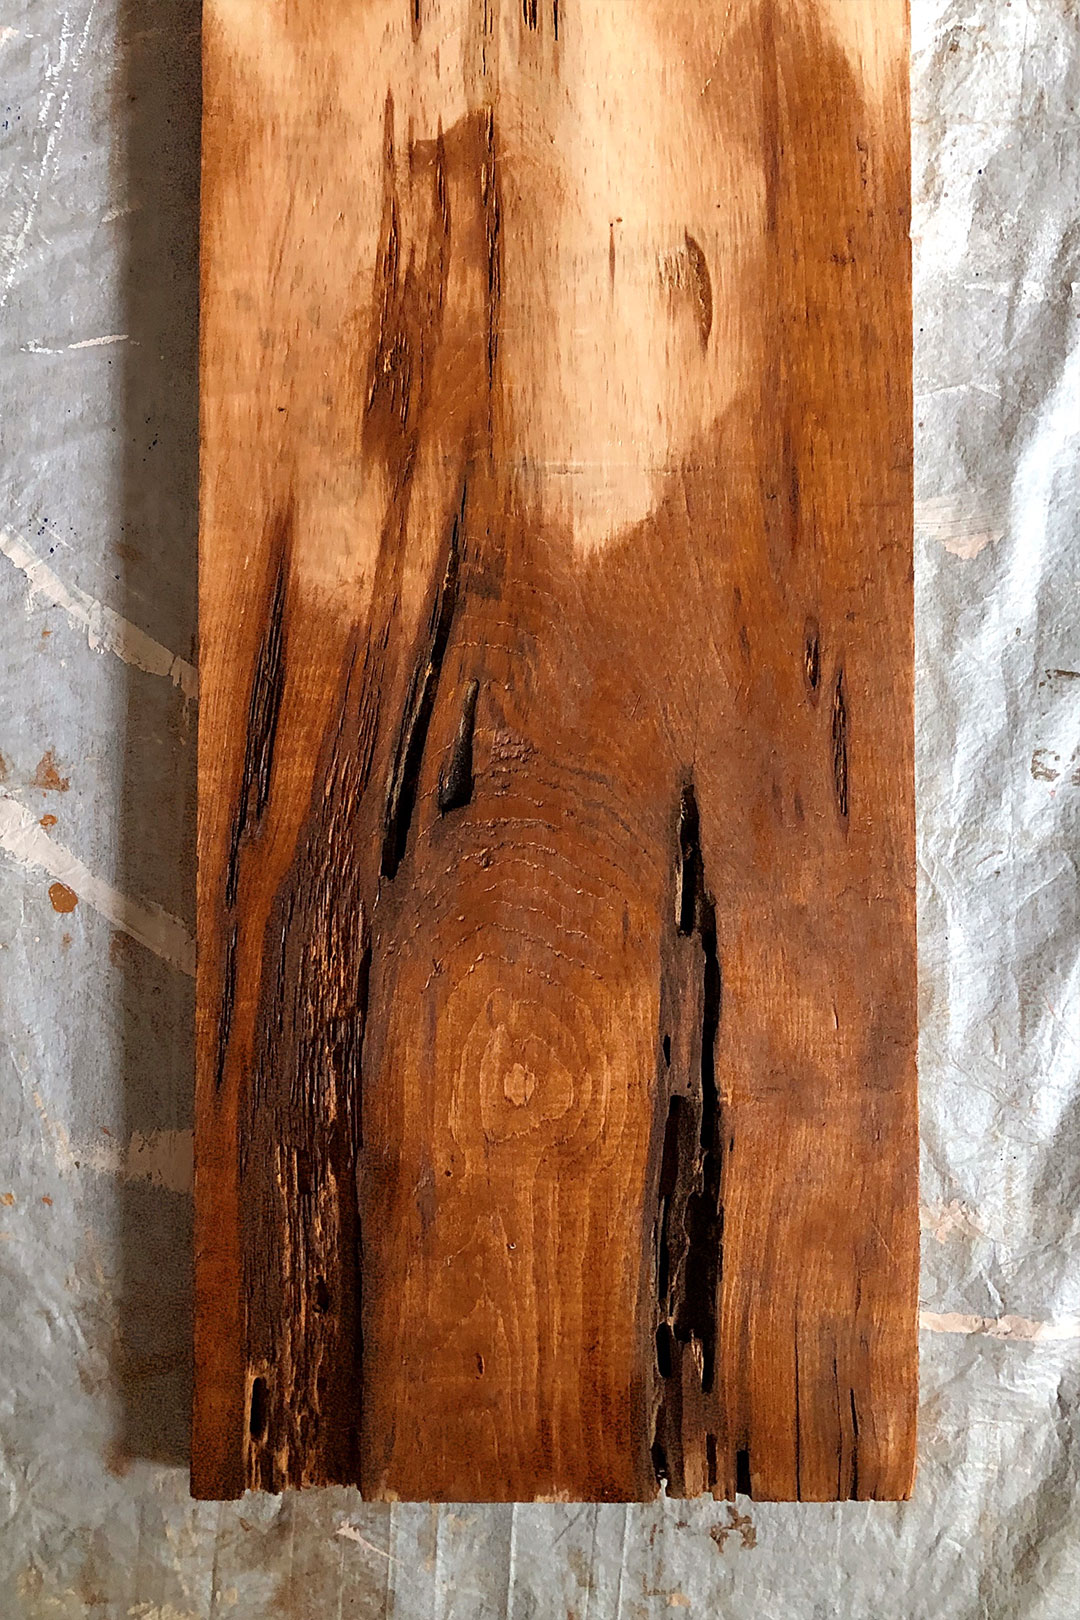
I used two planks of shelving wood measuring 1″ x 10″ x 6′. I love a more textured surface so this type of wood was perfect for it. I checked each plank to make sure I liked its wood grain and knots. If you have some leftover wood, it’s always useful for a little shelf or other house projects (the legs for this bench were actually leftovers from another project).
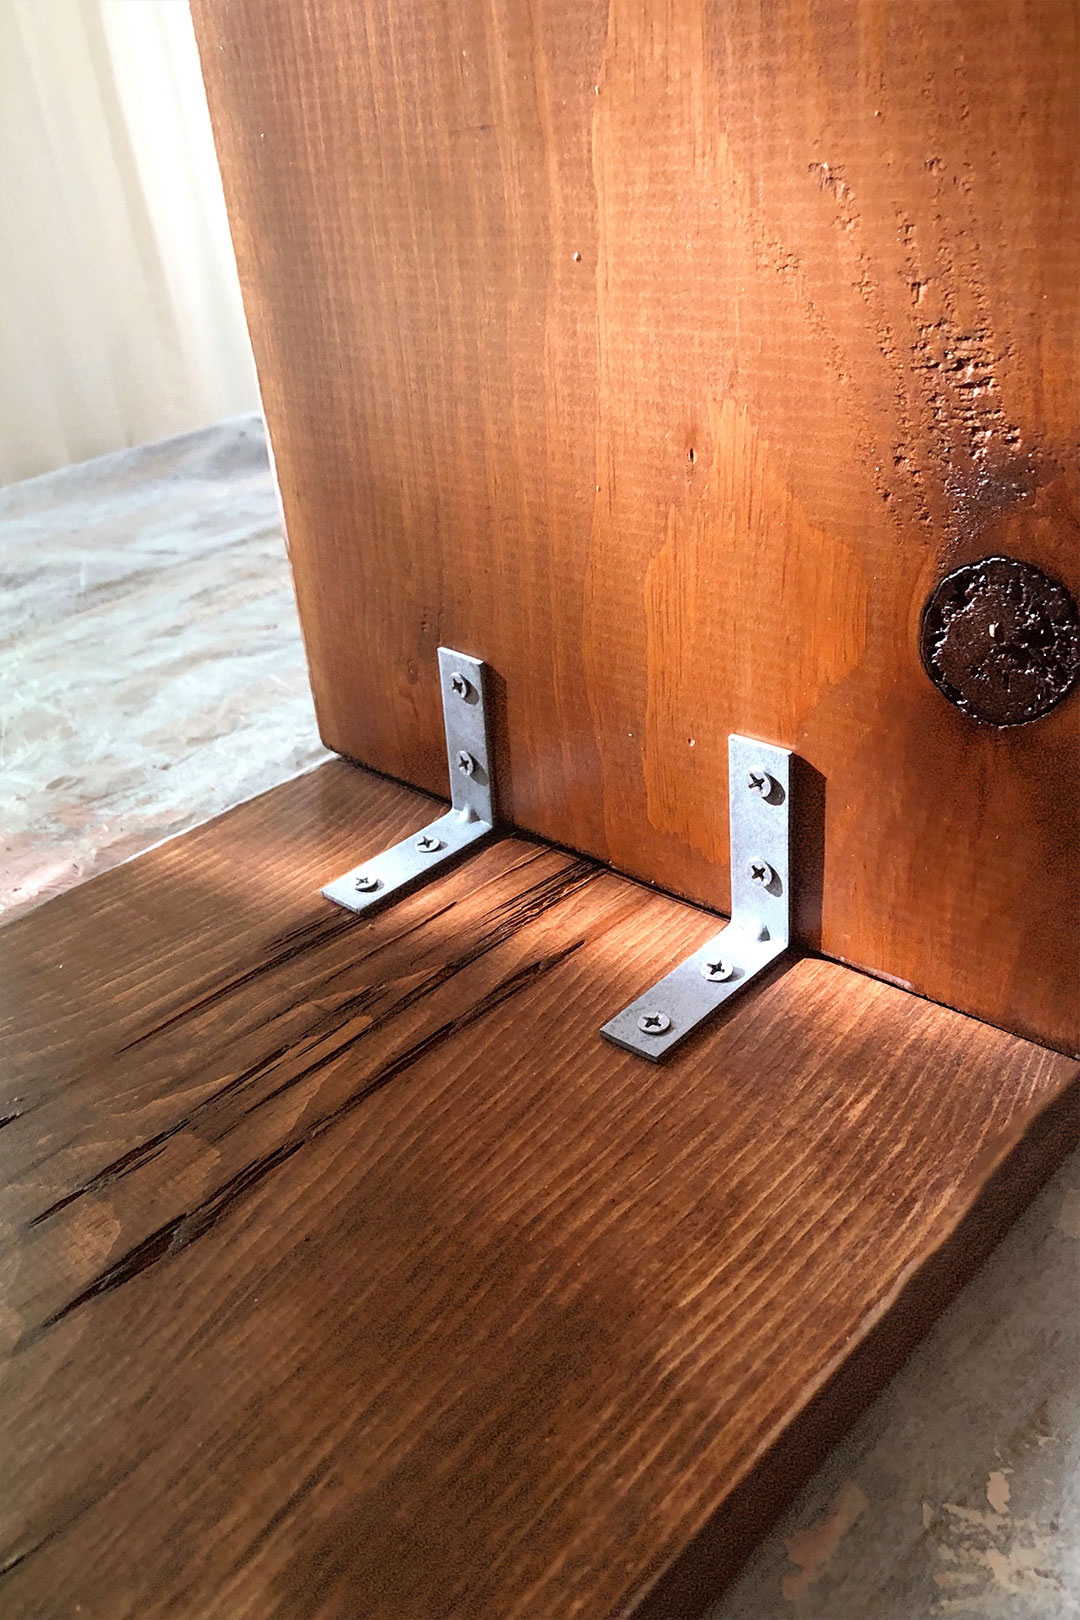
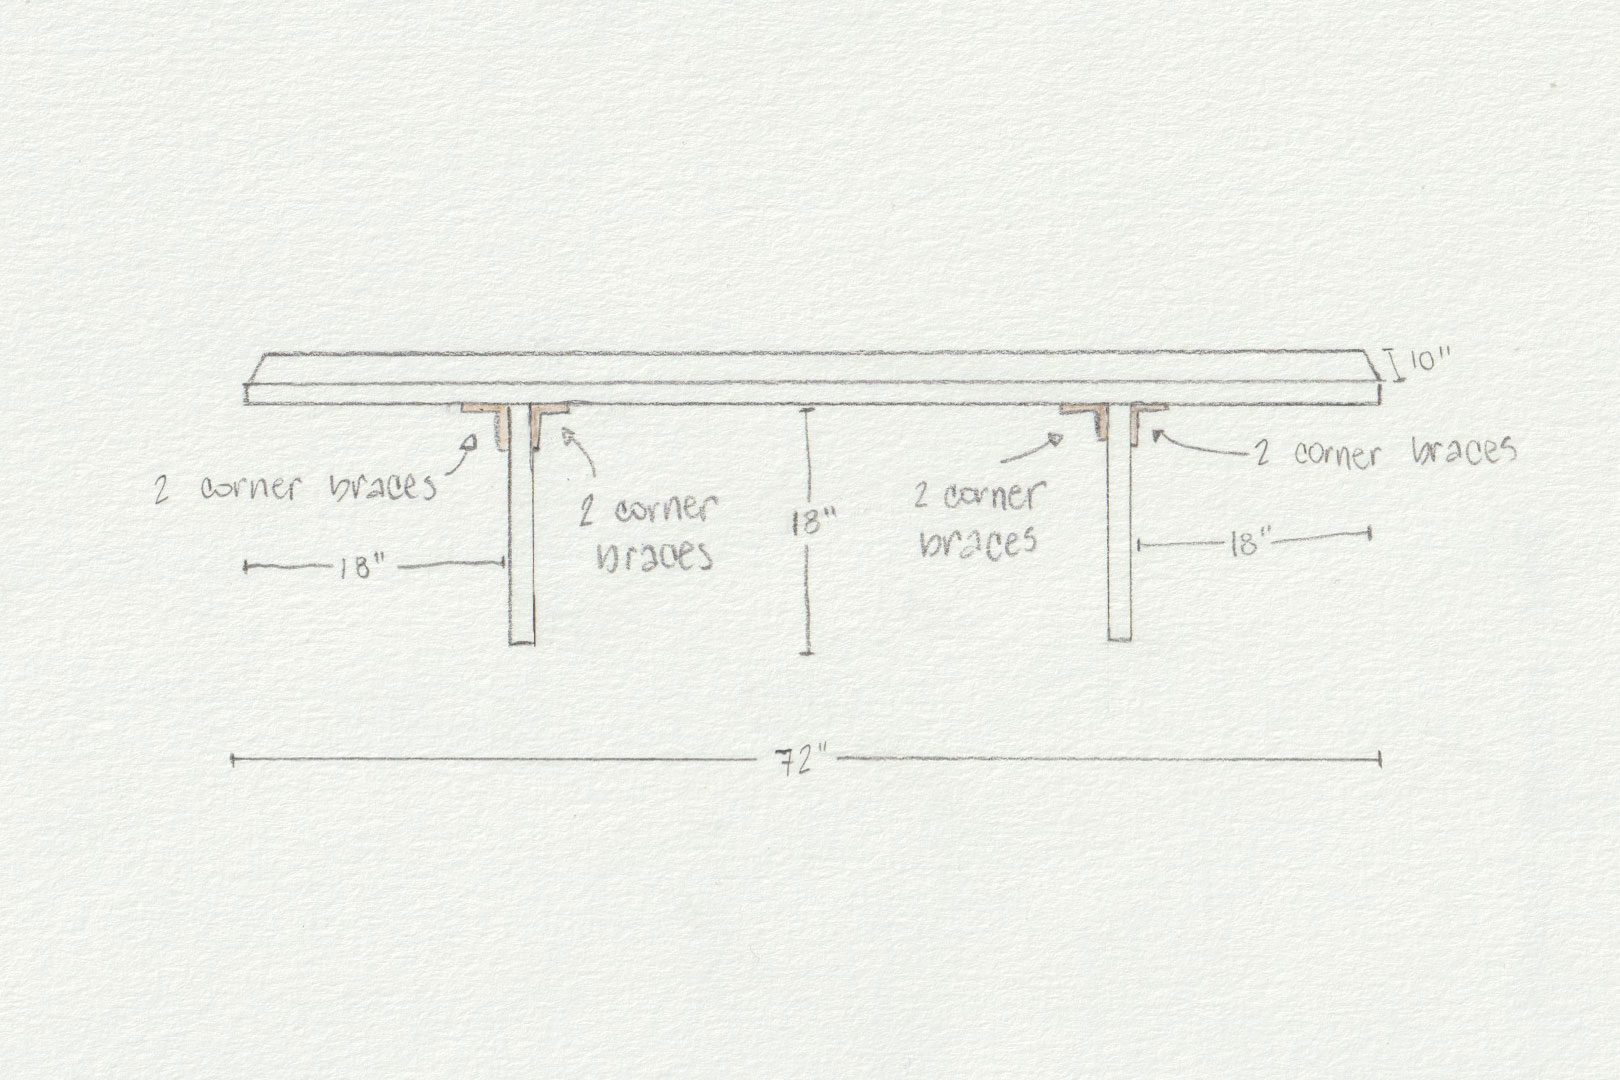
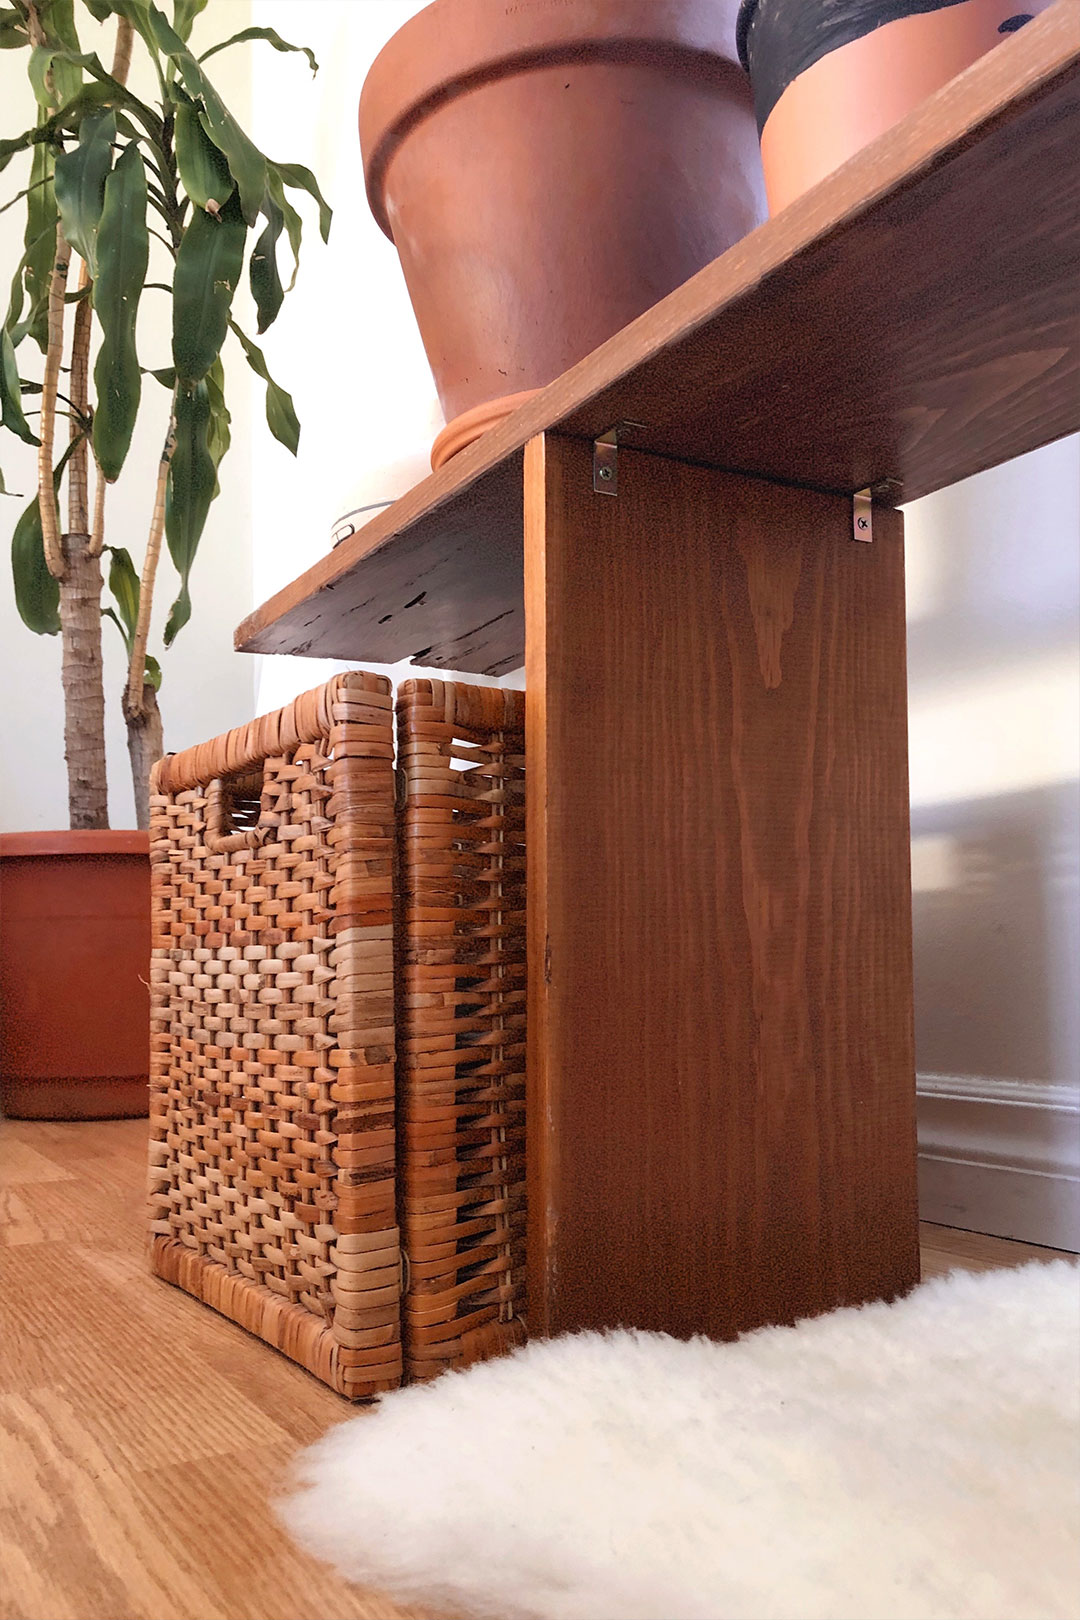
– 8 corner braces
I got 2-inch corner braces. If you can find brass ones, even better! The sets I bought included the screws, otherwise make sure you buy those too.
– Wood stain
I used the Saman water-based wood stain in Antique Walnut. After trying some other wood stain brands, this one is my go-to for interior applications as it’s much more pleasant to use… It’s very easy to apply, it has virtually no smell and it dries very quickly.
– Staining kit
Since I used the Saman wood stain, I also purchased their staining kit which includes a sponge, a pair of gloves and a lint free wiping cloth to apply the product. If you use another type of wood stain, make sure you get what you need to apply it.
– Varathane Diamond Finish
I used the Varathane water-based premium wood finish for interior in Satin Clear. This is another useful product to have around the house for a variety of projects.
– Wood saw
If you don’t have a wood saw or don’t feel comfortable using it, you can ask the hardware store to cut it for you. They might charge you $1 or $2 per cut but it’s totally worth it if you feel like skipping this step.
– Sandpaper
I used a 180 grit fine sanding sheet.
Instructions
1. Cut the wood.
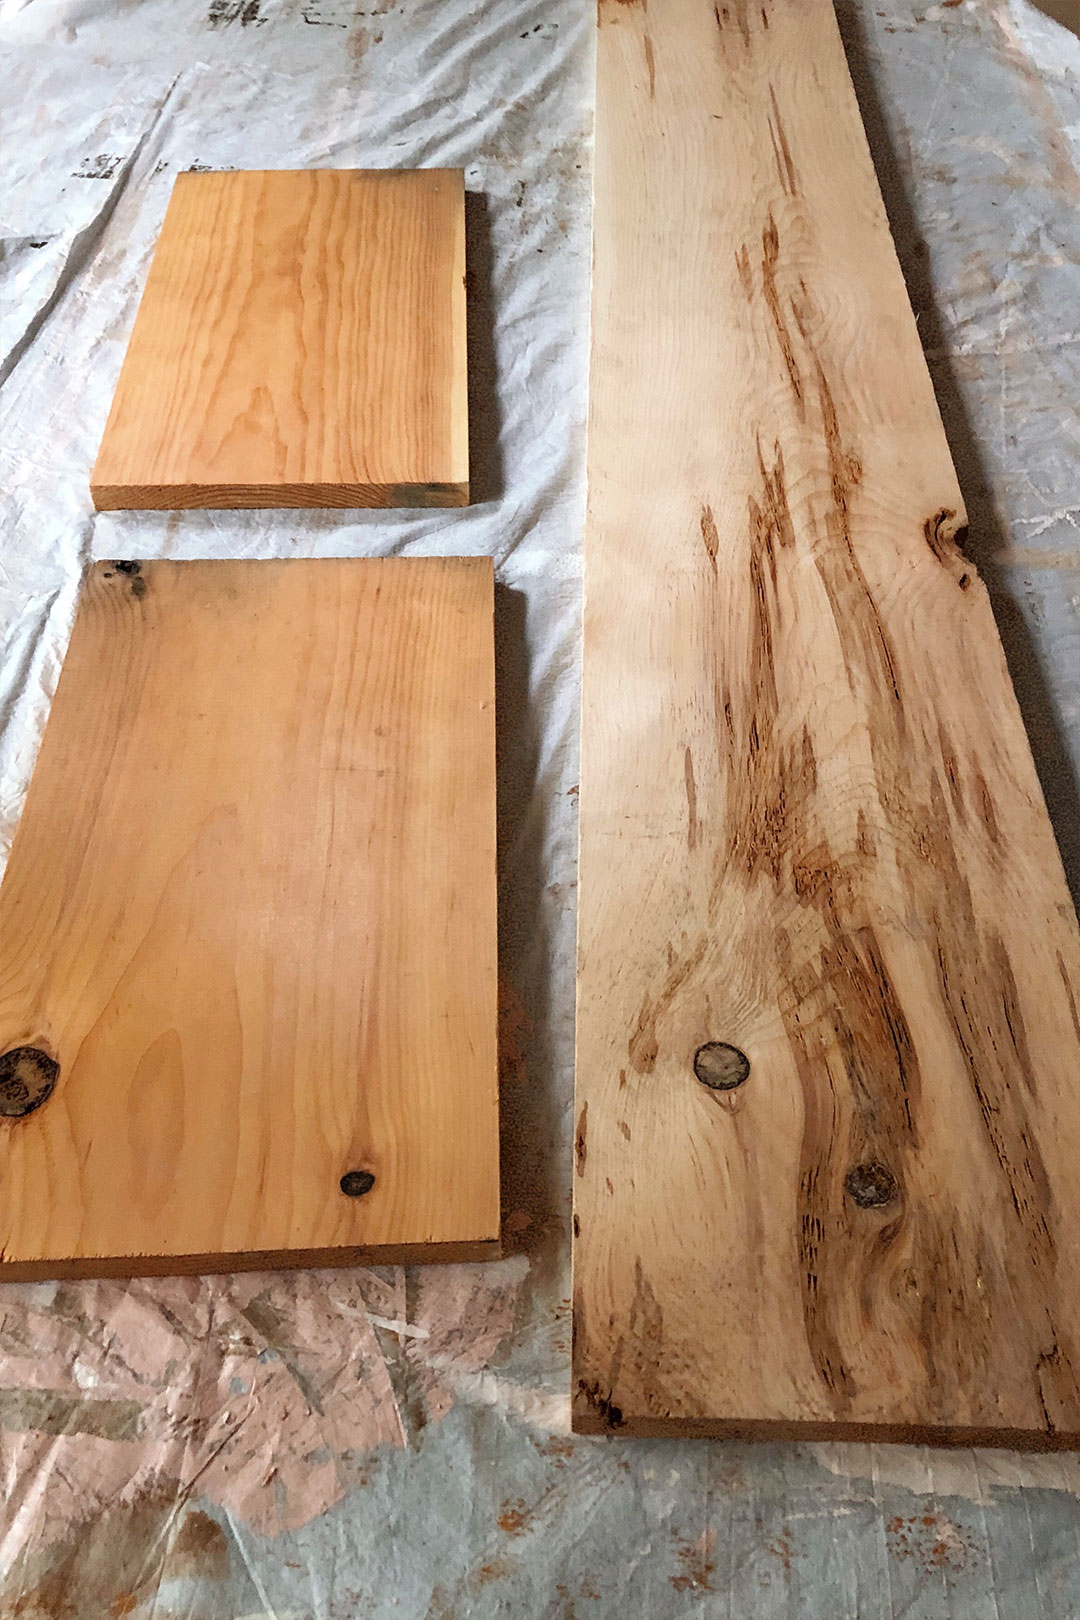
Start by cutting the wood to your desired size. The top of our bench measures 6′ long (we just left the plank as is). The legs of our bench are 18″ high so we cut two pieces of wood to that size. Just remember that the taller the bench, the less stable it will be. Ours is stable enough for all our plants.
Sand the wood to smooth the edges you just cut.
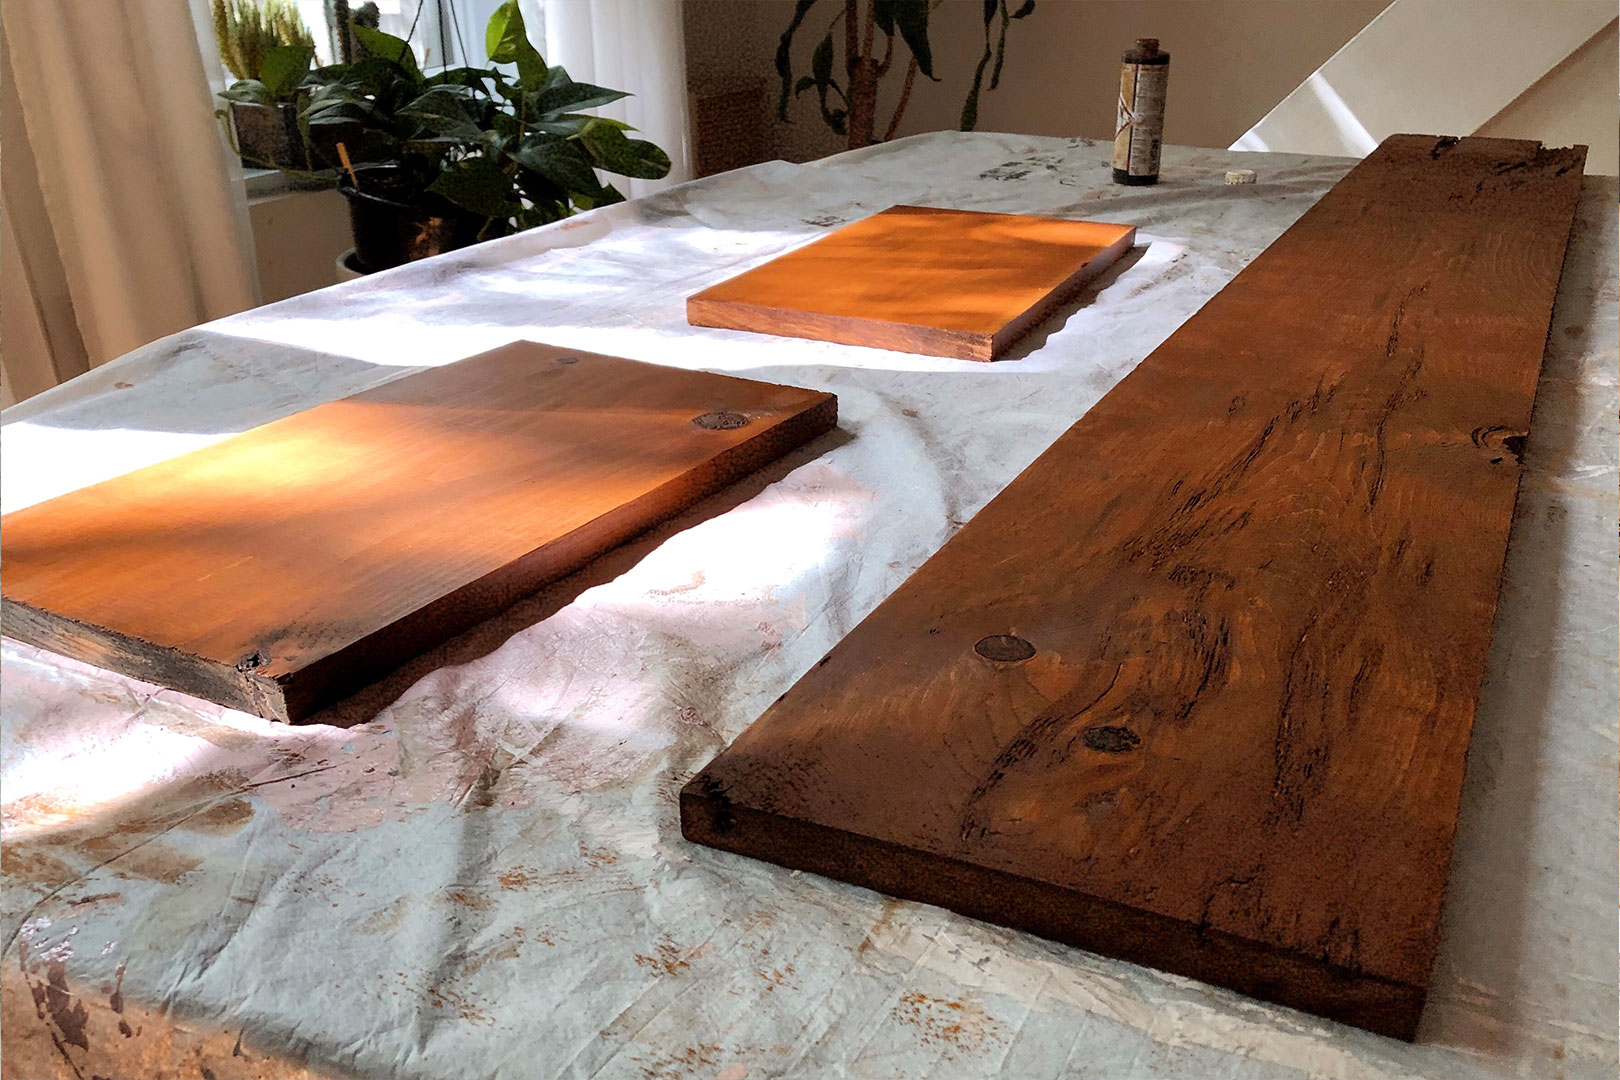
Protect the surface of your work area with a drop cloth or sheet. Apply the wood stain as directed on the product packaging.
Let dry completely.
Don’t forget you can re-use your drop sheet for many other projects to reduce waste! I’ve used mine a few times now and it’s still perfectly functional.
Using the paint brush, apply two coats of Varathane Diamond Finish as instructed on the product packaging. It will give the wood a nice shine and protect it from liquids should you spill some on it while watering your plants.
Let dry completely.
Check the wood plank that will be used for the top and choose the side you like most. That side is the one that will be more visible and go at the top. The other side is where you will be working now to attach the legs…
Turn the bench around and set it up at your desired spot.
You can now place your plants on it! I recommend distributing the weight of the plants evenly (some heavy plants on the sides, some at the center, with the lighter plants in between).
Marcie

0 Comments